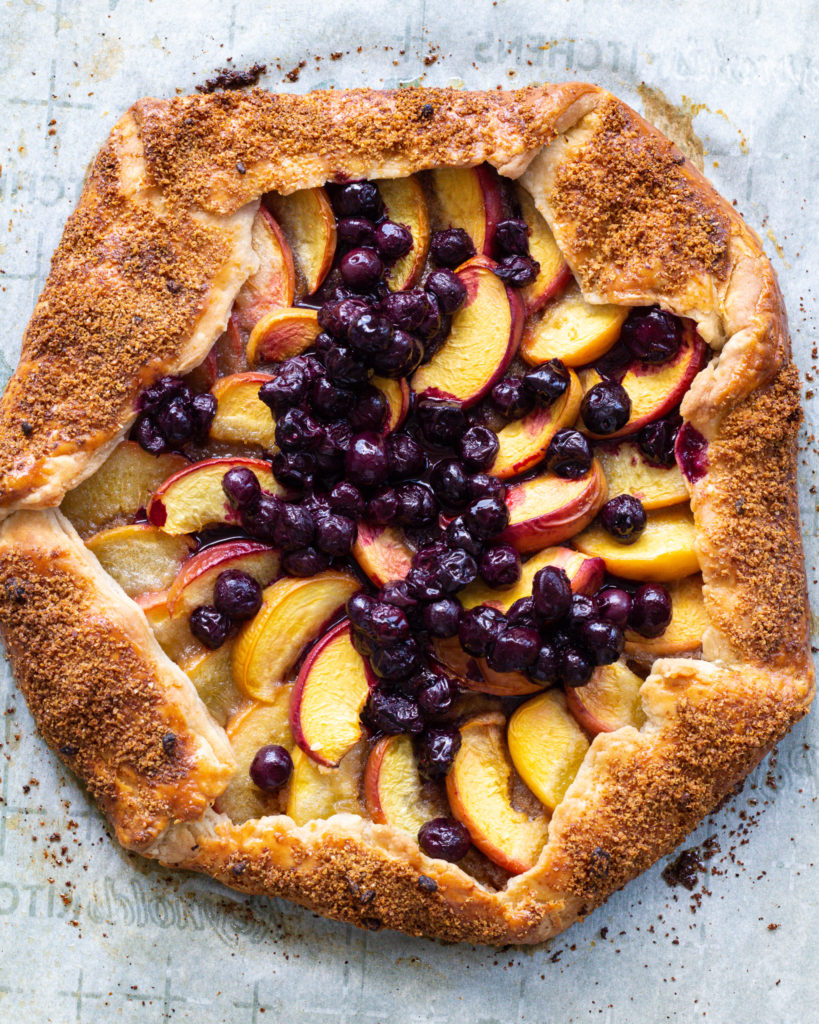

All-Butter Pie Crust
A perfectly flaky, all-butter pie crust doesn’t need any shortcuts, just a few simple ingredients and the right technique. This no-fuss recipe comes together by hand and delivers tender, buttery layers every time. Whether you’re making fruit pies, galettes, or tarts, this is the reliable, go-to crust you’ll keep coming back to.