Servings: loaf
Equipment
- 2 large bowls
Ingredients
For the sourdough half:
- 234 grams water at 90°F, Baker's % = 78%
- 60 grams activated starter, Baker's % = 20%
- 210 grams bread flour + 90 grams of whole wheat flour, Baker's % = 100%
- 6 grams Diamond Crystal kosher salt, Baker's % = 2%
For the matcha dough half:
- 234 grams water at 90°F, Baker's % = 78%
- 60 grams activated starter, Baker's % = 20%
- 210 grams bread flour + 85 grams of whole wheat flour, Baker's % = 98%
- 5 grams ceremonial grade matcha, Baker's % = <2%
- 6 grams Diamond Crystal kosher salt, Baker's % = 2%
Instructions
- Mix the dough - For the sourdough side, in a large bowl, mix together 60 grams of activated starter and 234 grams of water with your hand until the starter is fulling dissolved and the water is foamy. Add 210 grams of bread flour and 90 grams of whole wheat flour and mix until combined into a shaggy dough. For the matcha dough, in a separate large bowl, mix together 60 grams of activated starter and 234 grams of water with your hand until the starter is fulling dissolved and the water is foamy. Add 210 grams of bread flour, 85 grams of whole wheat flour and 5 grams of ceremonial grade matcha and mix until combined into a shaggy dough. Cover both with a damp cloth and let sit for 20 minutes.
- Mix in the salt – Evenly sprinkle 6 grams of kosher salt over both doughs. For each dough, use a wet hand to pull one edge of the dough up until it feels taut, then fold it over the top of the dough, encasing the salt. Rotate the bowl 90 degrees and repeat again with another edge of the dough. Keep rotating and repeating until the salt is fully covered. Continue to wet your hand as needed. Once the salt is covered with the dough, use the Ken Forkish fold-and-pinch method to further incorporate it into the dough. Rotate the dough 180 degrees and pinch again. Repeat the folding and pinching process, until you feel the salt is well incorporated. Once everything is combined, use your hand in a scoop shape, scoop underneath the dough and lift it out of the bowl, gently place it back in the bowl, letting the edges fold under each other, rotating the bowl 80 degrees each time. Do this a few times until the dough looks like a smooth mound. Cover with a damp cloth and let the dough rest for another 20-30 minutes.
- Begin the slap & folds - Pour both of the doughs onto a lightly wet surface, use damp hands to lift, slap and fold each dough. Rotate and repeat until you see the dough begin to tighten into a coil. Cover with a damp cloth, wait 30 minutes and repeat the process. Cover and wait another 30 minutes and repeat the process again. Do this simultaneously with both of the doughs.
- Begin bulk fermentation - Right after finishing the third set of slap-and-folds, place the doughs in separate clear or glass containers. Cover and let rise at room temperature for 4-5 hours, or until both are almost doubled in size. You can also let them bulk ferment in the fridge for 24-48 hours.
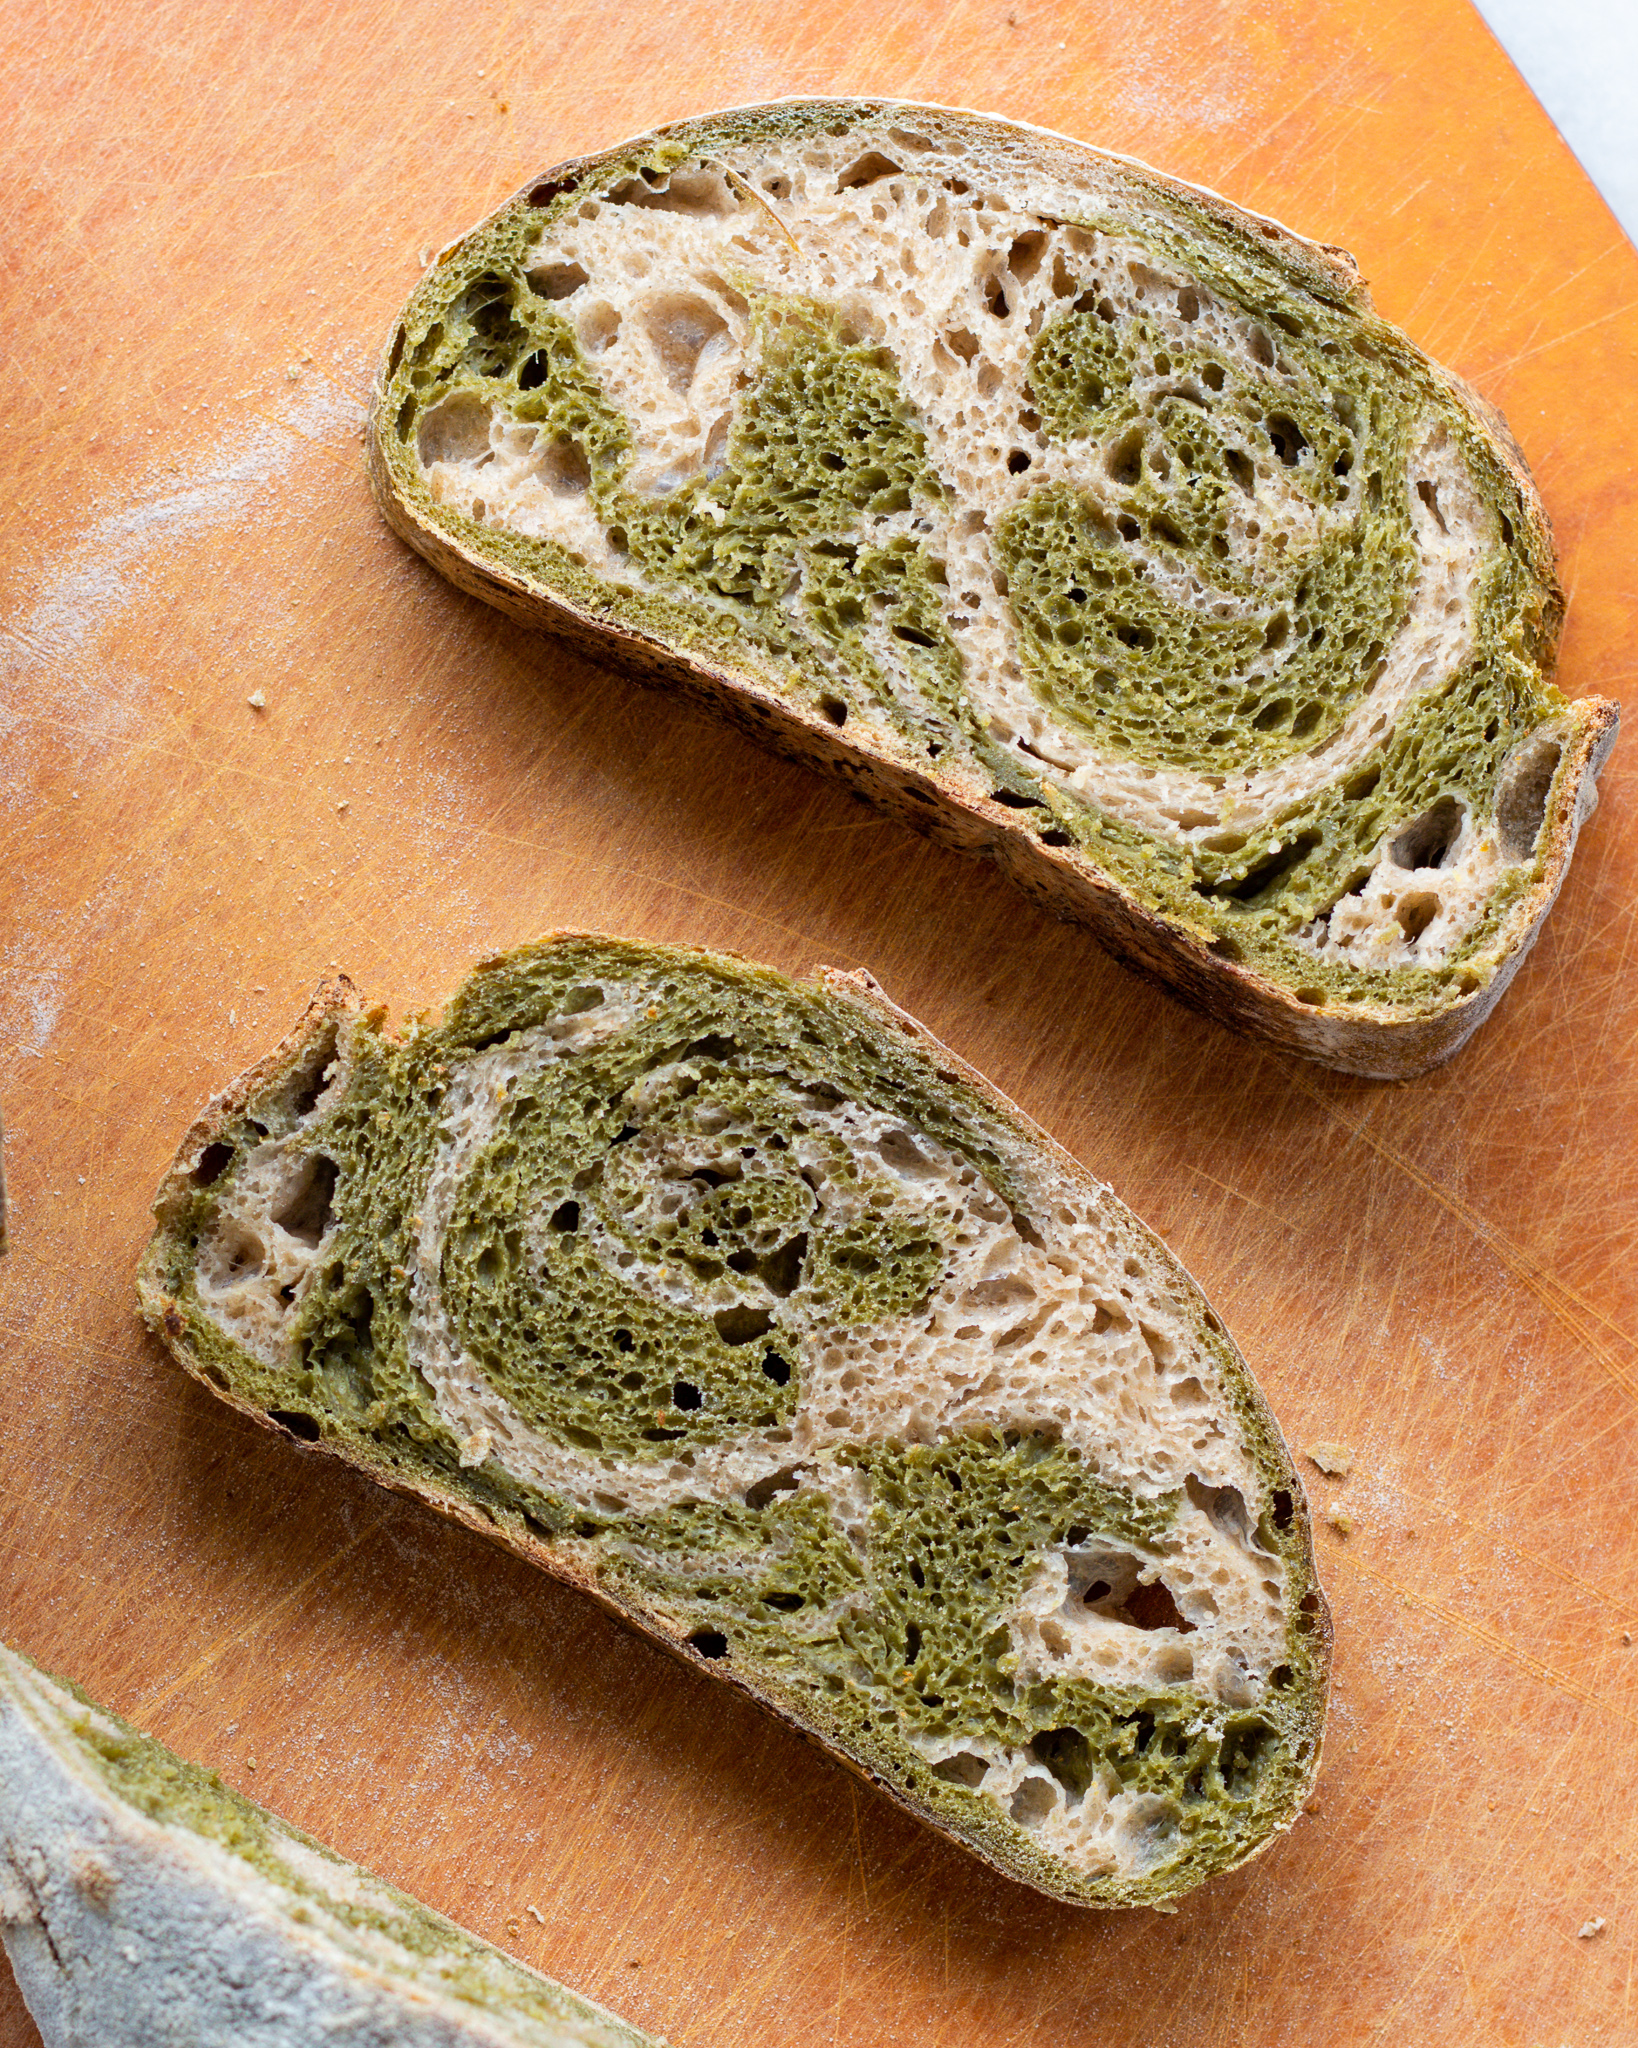
- Layering the dough - Dump the sourdough loaf onto a wet surface. Stretch it into a long wide rectangle, about 1" tall. Using wet hands, stretch the matcha dough into a rectangle about the same size, and place it on top of the sourdough side. Dab a bit of water down the middle of the doughs in order to cut them in half with a bench scraper, you will now have two loaves to pre-shape.
- Shaping the dough - For each loaf, fold a short rectangle side down until it is 2/3 of the way across the dough. Stretch out the long edges of the rectangle to the sides, and then fold them like a book over the center of the dough. Stitch the dough, roll it over into a tight coil and let it rest for 20 minutes.
- Prepare the dough - Flour your surface, proofing basket, and hands to do the final shape. Seal the seam by pulling it gently against your work surface. Transfer it to the proofing basket seam-side-up. Cover and let proof in the fridge for minimum 12 hours, up to 36 hours.
- Bake - Place your dutch oven in the oven and preheat 500°F. One hour before you bake, remove one of your loaves from the oven and let it get to room temperature. When the dutch oven has been preheated for about 45 minutes, add the loaf to a piece of parchment paper, score the top and place in the dutch oven.
- Bake at 500°F for 20 minutes, then move the loaf to a baking sheet and bake for another 10 minutes at 425°F. Repeat this process for your second loaf.
Serving: 1 sliceCalories: 110kcalCarbohydrates: 18gProtein: 4gFat: 1g