

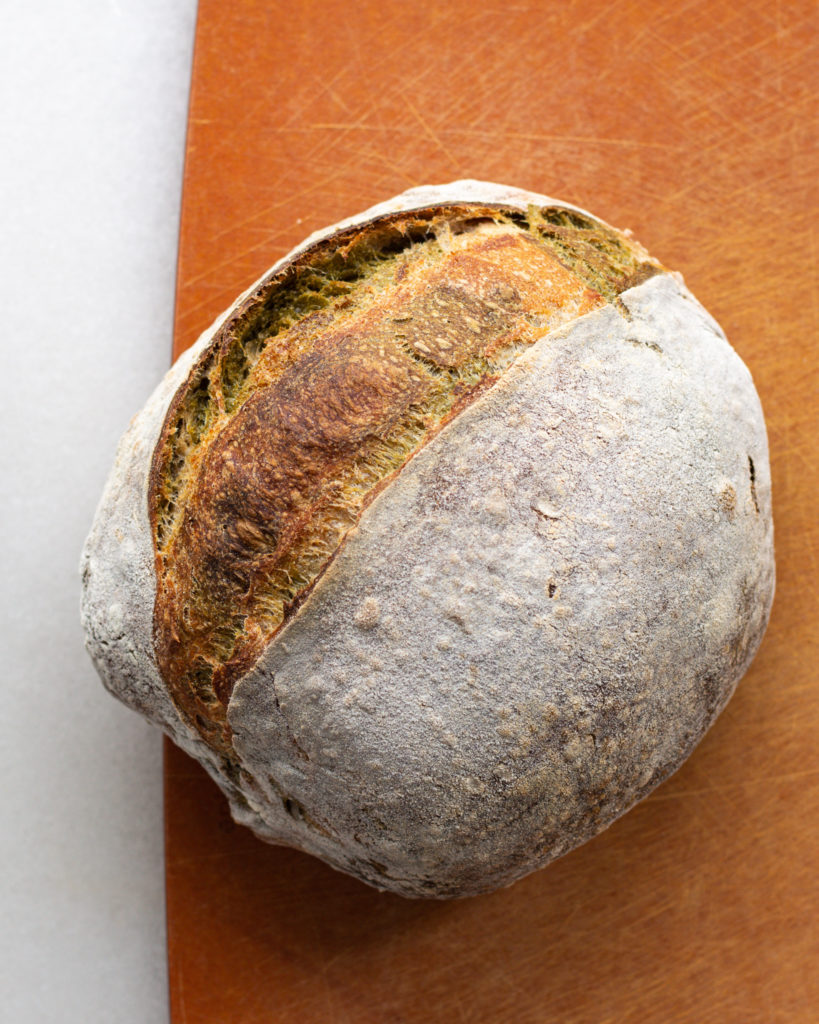
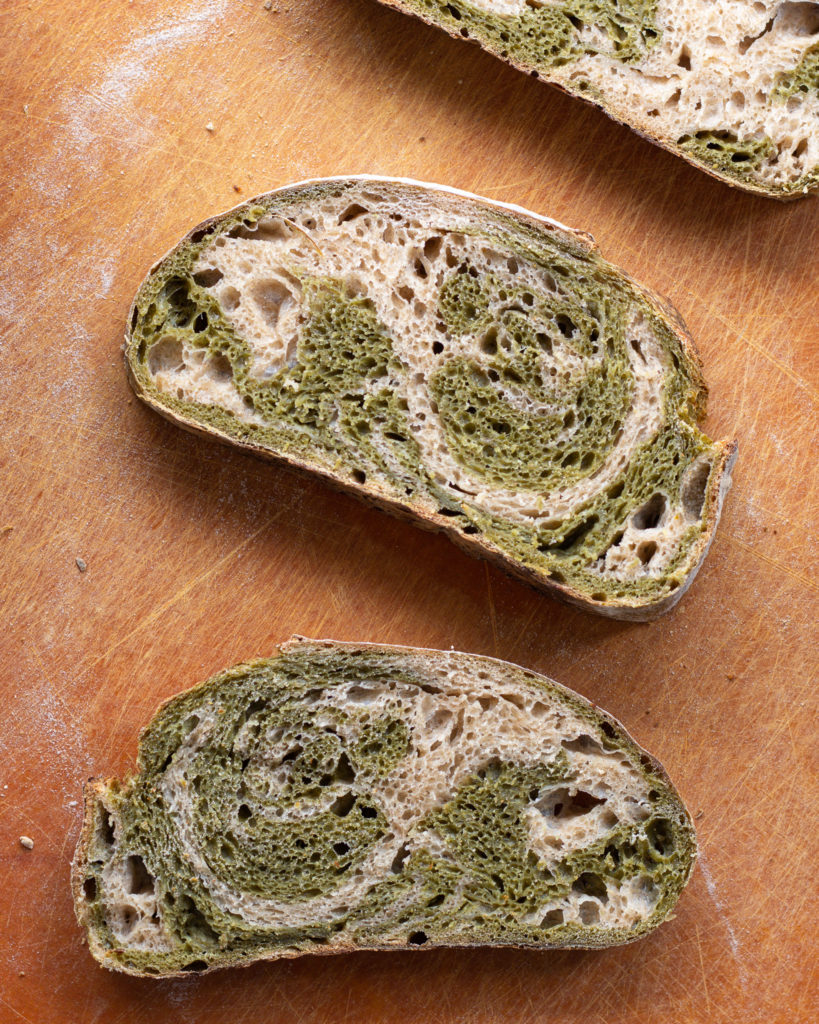
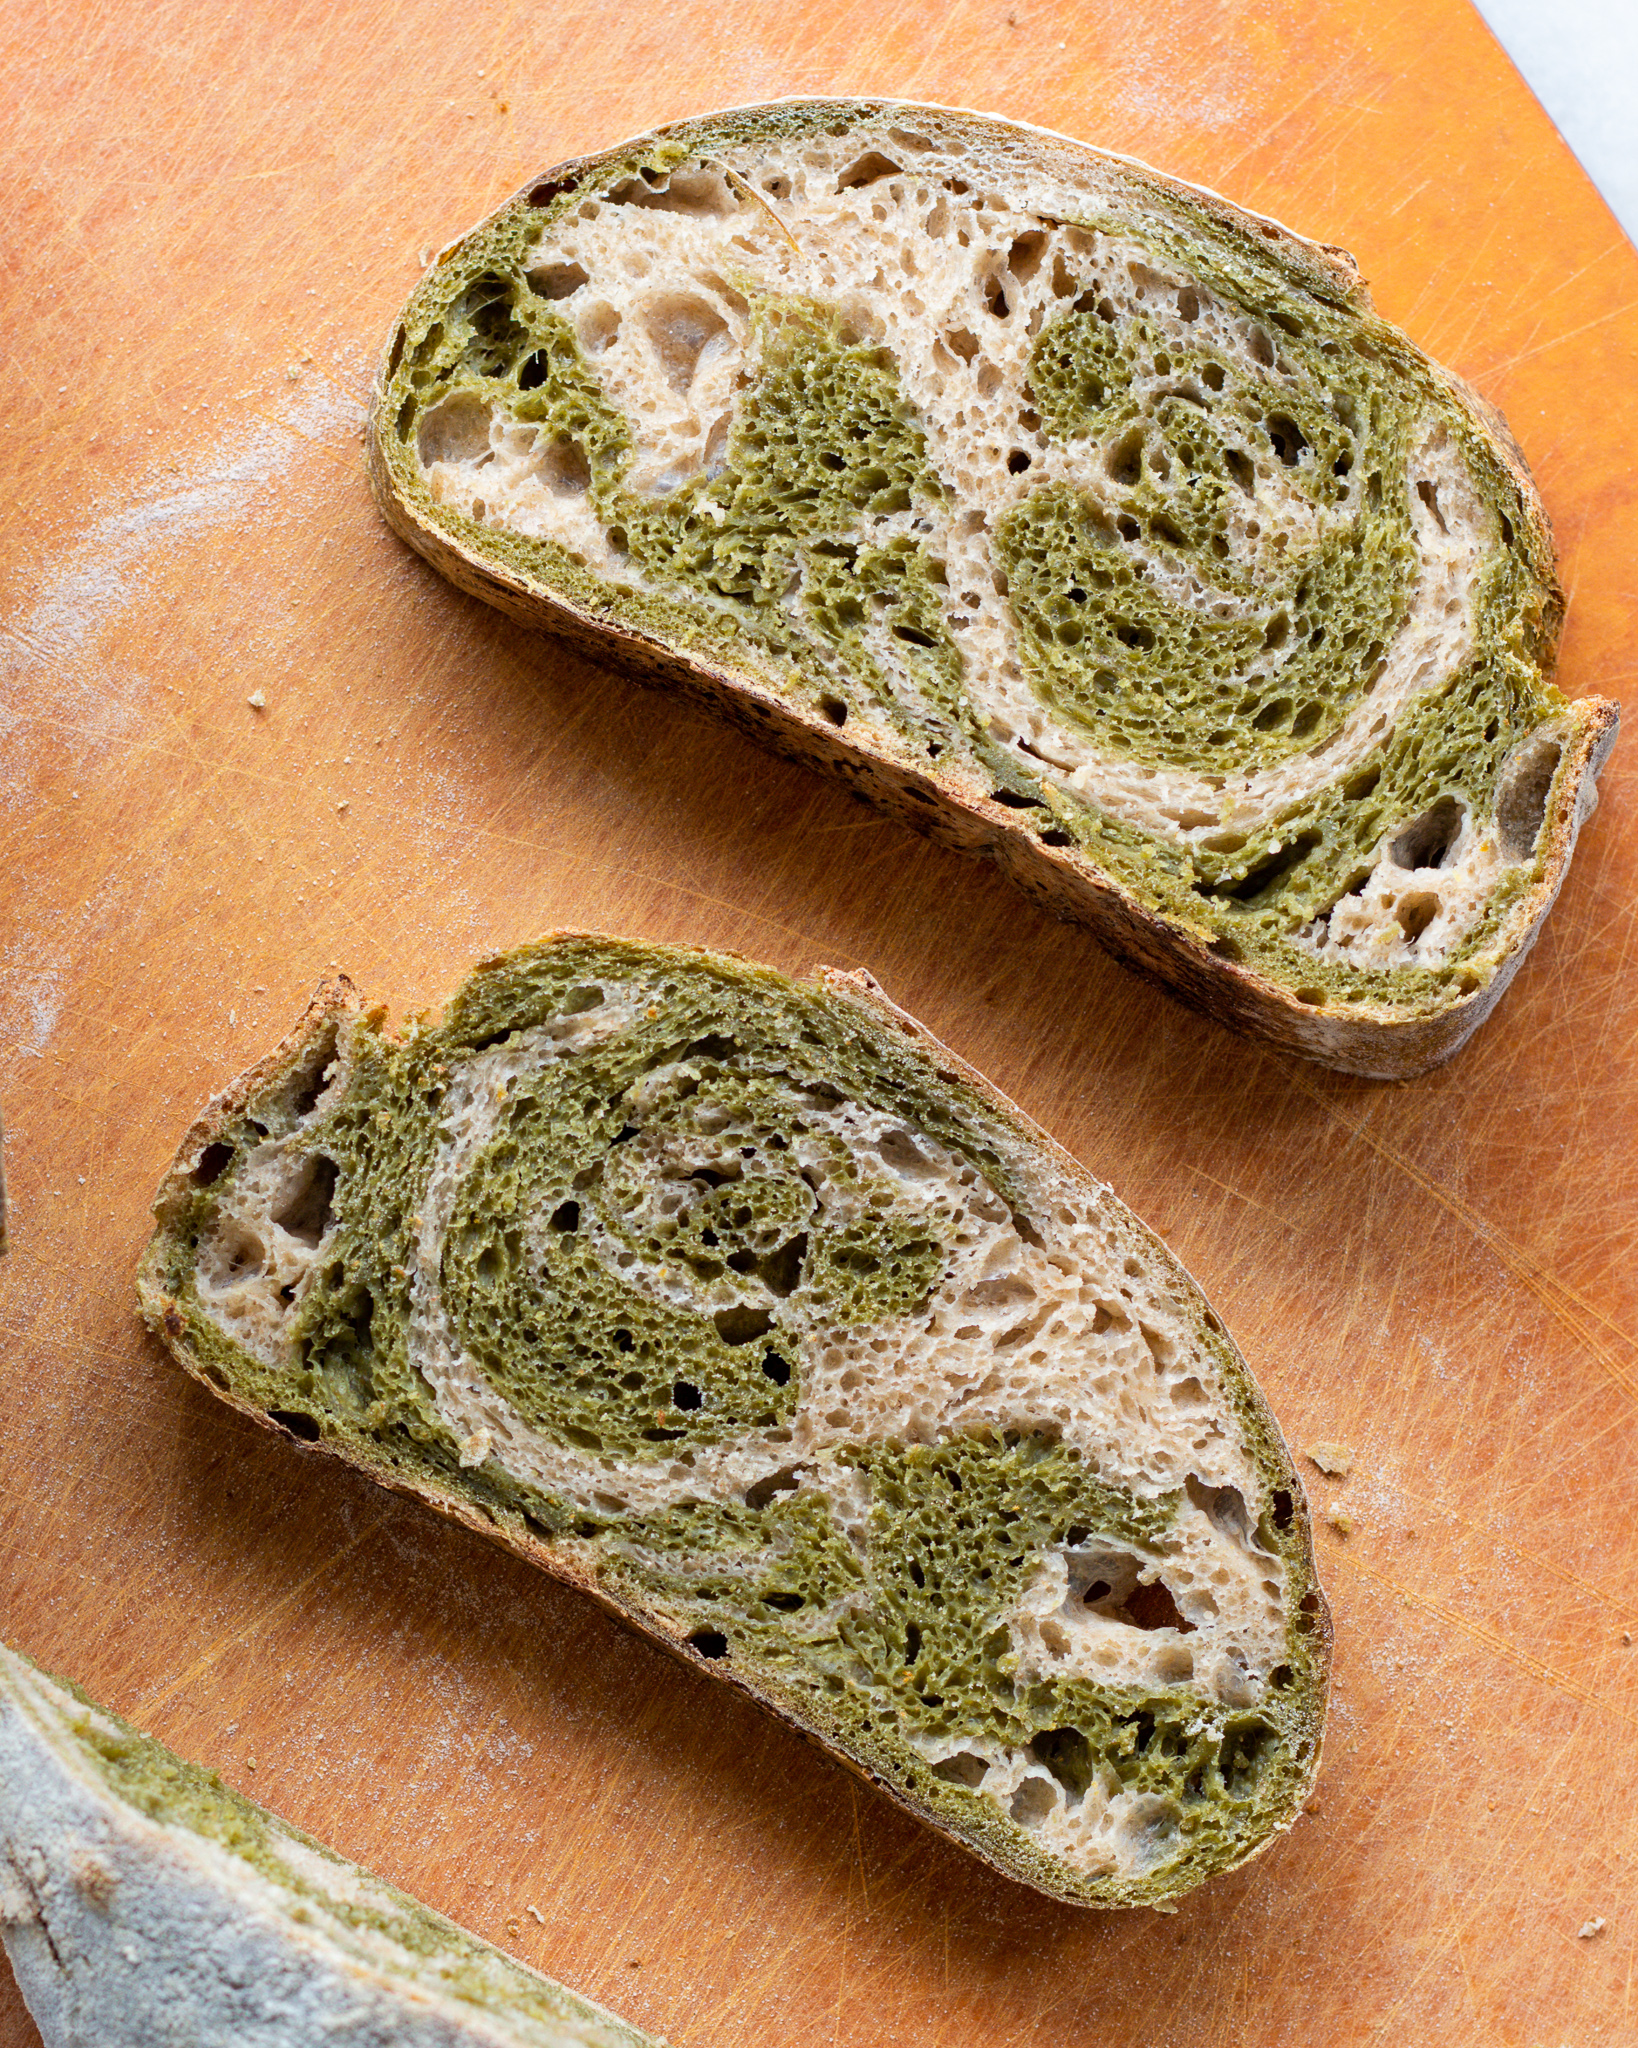
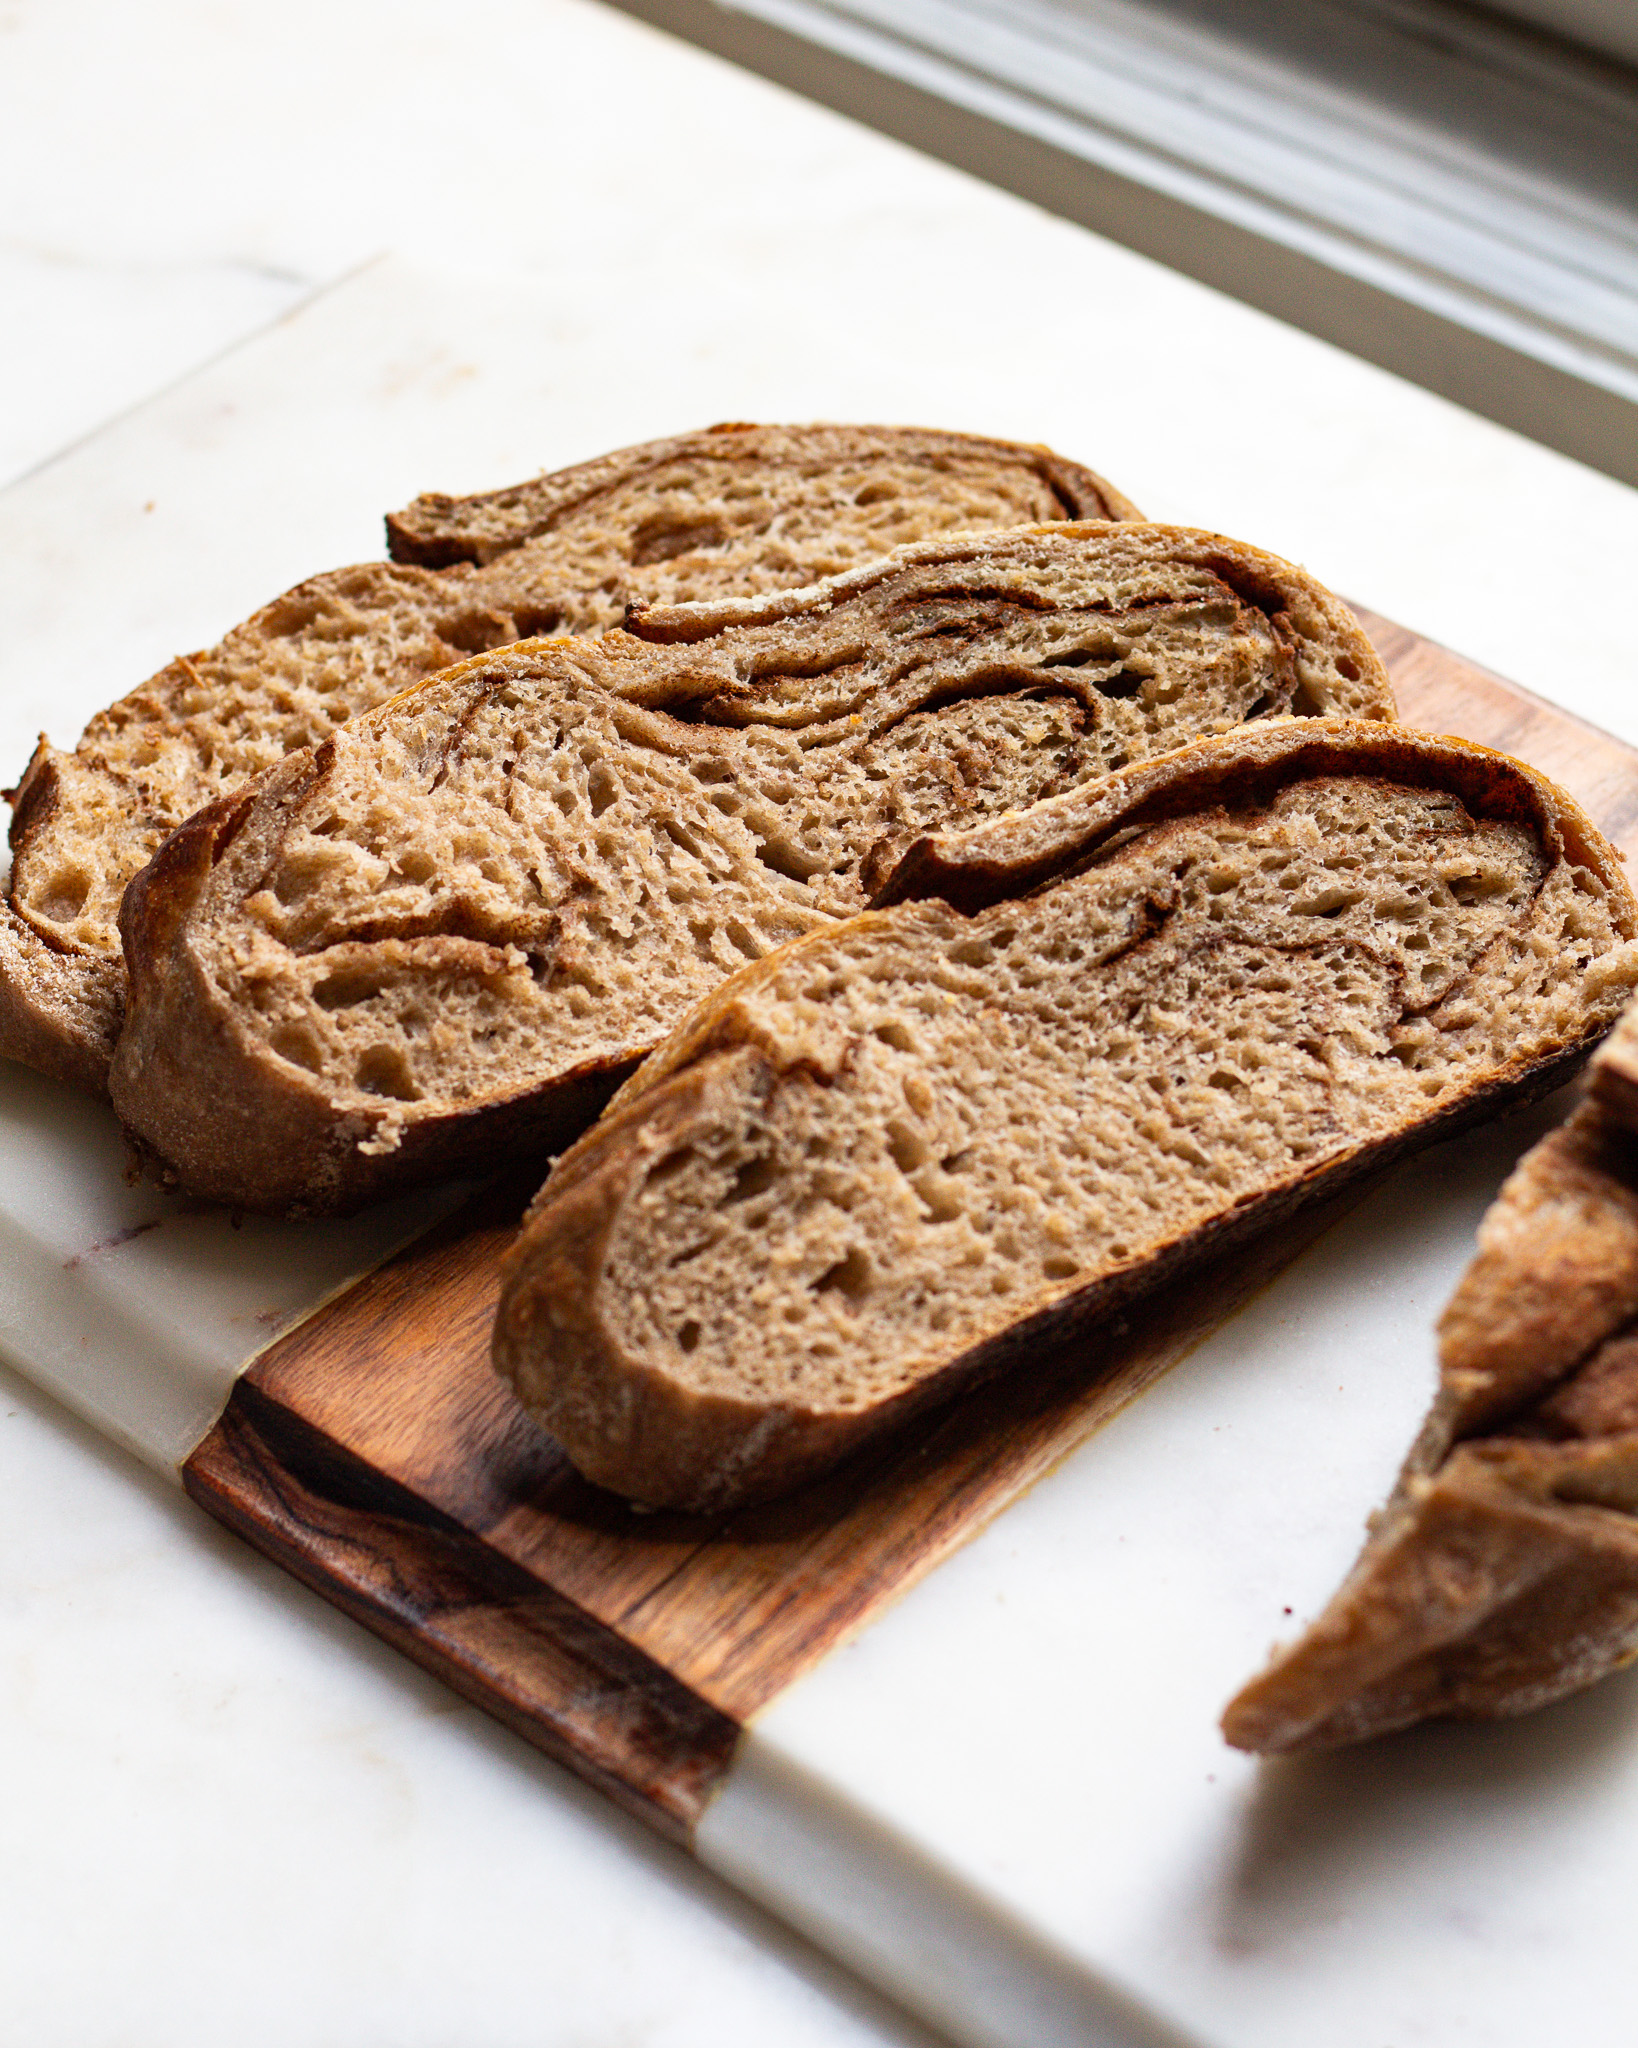
I love sourdough, and this Matcha Sourdough is no exception. It has a beautiful green swirl, pairs perfectly with matcha butter, and is such a fun party trick to pull out next time you are baking for a crowd.
This recipe closely references my classic sourdough recipe, so if you have any questions, your best bet is to look there!
Table of contents
It all starts with sourdough starter
A good sourdough bread starts with a good sourdough starter. To put it simply, sourdough starter is what leavens the bread. It’s a mix of flour and water that we let sit at room temperature to ferment so that the wild yeast within the flour creates natural gas bubbles, which when mixed with fresh flour in a dough, creates a natural rise.
Sourdough starter is complicated, so I recommend mastering that first. You can find my guide to sourdough starter here.
How to activate your starter
Once you have a mature and healthy starter, you want to activate it about 4-5 hours before you begin baking this recipe. I like to activate my starter with the following ratios:
- 60 grams of mature starter
- 40 grams of all-purpose flour
- 20 grams of whole wheat flour
- 60 grams of cool water
This will give you 180 grams of total activated starter, which means 120 grams to use in the recipe, and 60 grams of starter to keep for later. You want to have some leftover starter so that you can keep using it. If we use it all at once, then we’d have to make a whole starter again, and that can take up to 7 days (which, no thank you).
What makes this matcha sourdough different
Compared to my classic sourdough recipe, this matcha sourdough substitutes out 5 grams of flour for 5 grams of ceremonial grade matcha. This is what adds to the color of the loaf, without detracting from the texture or the overall feel.
What this does do is make us evaluate the ingredients from a different perspective. Now that matcha is in the mix, we don’t want to impact the bread’s structure by lowering its gluten. That’s why we do a swirl of matcha mixed with a swirl of my traditional sourdough.
Ingredients you’ll need for this sourdough recipe
This recipe is scaled to fit one small dutch oven. It’s perfectly portioned for the home baker to make two loaves! I’ll give you measurements by weight, but I’ll also give you what we call “Baker’s Percentages” where every percent value is measured by seeing the amount of flour as 100%. So for example, if the recipe calls for 100 grams of flour and 80 grams of water, that means the Baker’s % of water is 80%. You can read more about Baker’s Percentages here.
In this recipe you will be making two loaves. For the first you will need:
- 300 grams of flour – 210 grams of bread flour (70%), and 90 grams of whole wheat flour (30%)
- 234 grams of water at 90°F (78%), plus more water later for wetting your hands and shaping the dough
- 60 grams of starter (20%)
- 6 grams of kosher salt (2%)
And for the second version, the matcha version, you will need:
- 300 grams of flour – 210 g of bread flour (70%) + 85 g of whole wheat flour (28%)
- 234 grams of water at 90°F (78%)
- 5 grams ceremonial grade matcha (<2%)
- 60 grams of activated starter*** (20%)
- 6 grams of kosher salt (2%)
The seven steps of sourdough
Here are the seven steps, or “phases” as I like to call them:
- Activate your starter
- Mix the dough
- Slap and fold the dough
- Bulk fermentation
- Shape the dough
- Proof the dough
- Bake the bread!
How to make this sourdough
For the most detailed explanation of how to make this sourdough, refer to this sourdough recipe. Once you understand the process through that, feel free to follow this step-by-step guide for this recipe:
- Mix – For the sourdough side, in a large bowl, mix together 60 grams of activated starter and 234 grams of water with your hand until the starter is fulling dissolved and the water is foamy. Add 210 grams of bread flour and 90 grams of whole wheat flour and mix until combined into a shaggy dough. For the matcha dough, in a separate large bowl, mix together 60 grams of activated starter and 234 grams of water with your hand until the starter is fulling dissolved and the water is foamy. Add 210 grams of bread flour, 85 grams of whole wheat flour and 5 grams of ceremonial grade matcha and mix until combined into a shaggy dough. Cover both with a damp cloth and let sit for 20 minutes.
- Mix in the salt – Evenly sprinkle 6 grams of kosher salt over both doughs. For each dough, use a wet hand to pull one edge of the dough up until it feels taut, then fold it over the top of the dough, encasing the salt. Rotate the bowl 90 degrees and repeat again with another edge of the dough. Keep rotating and repeating until the salt is fully covered. Continue to wet your hand as needed. Once the salt is covered with the dough, use the Ken Forkish fold-and-pinch method to further incorporate it into the dough. Rotate the dough 180 degrees and pinch again. Repeat the folding and pinching process, until you feel the salt is well incorporated. Once everything is combined, use your hand in a scoop shape, scoop underneath the dough and lift it out of the bowl, gently place it back in the bowl, letting the edges fold under each other, rotating the bowl 80 degrees each time. Do this a few times until the dough looks like a smooth mound. Cover with a damp cloth and let the dough rest for another 20-30 minutes.
- Begin the slap & folds – Pour both of the doughs onto a lightly wet surface, use damp hands to lift, slap and fold each dough. Rotate and repeat until you see the dough begin to tighten into a coil. Cover with a damp cloth, wait 30 minutes and repeat the process. Cover and wait another 30 minutes and repeat the process again. Do this simultaneously with both of the doughs.
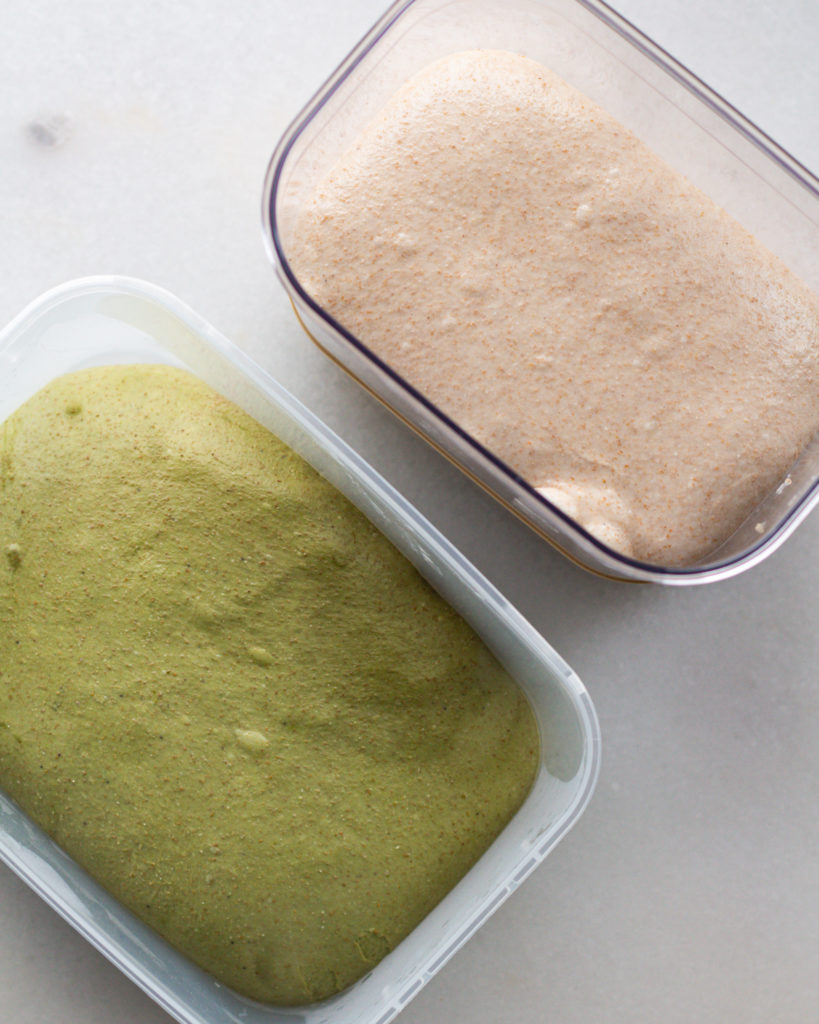
- Begin bulk fermentation – Right after finishing the third set of slap-and-folds, place the doughs in separate clear or glass containers. Cover and let rise at room temperature for 4-5 hours, or until both are almost doubled in size. You can also let them bulk ferment in the fridge for 24-48 hours.
- Layering the dough – Dump the sourdough loaf onto a wet surface. Stretch it into a long wide rectangle, about 1″ tall. Using wet hands, stretch the matcha dough into a rectangle about the same size, and place it on top of the sourdough side. Dab a bit of water down the middle of the doughs in order to cut them in half with a bench scraper, you will now have two loaves to pre-shape.
- Shaping the dough – For each loaf, fold a short rectangle side down until it is 2/3 of the way across the dough. Stretch out the long edges of the rectangle to the sides, and then fold them like a book over the center of the dough. Stitch the dough, roll it over into a tight coil and let it rest for 20 minutes.
- Prepare the dough – Flour your surface, proofing basket, and hands to do the final shape. Seal the seam by pulling it gently against your work surface. Transfer it to the proofing basket seam-side-up. Cover and let proof in the fridge for minimum 12 hours, up to 36 hours.
- Bake – Place your dutch oven in the oven and preheat 500°F. One hour before you bake, remove one of your loaves from the oven and let it get to room temperature. When the dutch oven has been preheated for about 45 minutes, add the loaf to a piece of parchment paper, score the top and place in the dutch oven.
- Bake at 500°F for 20 minutes, then move the loaf to a baking sheet and bake for another 10 minutes at 425°F. Repeat this process for your second loaf.
Watch the recipe here
For a little extra help, watch my YouTube video below! It can be your guide in making this delicious Matcha Sourdough. 🙂
Why is this recipe in grams?
Grams is always my preference for baking, and I hope it will be yours, too. The only way to ensure complete accuracy is through measuring by weight, not volume. One cup of flour can weigh all the way from 120 grams to 160 grams, depending on how it was packed. This ends up causing some volatility and miss-matched results.
I want to ensure you get the best results with this recipe (and I want to keep this recipe fool-proof!) so I highly recommend getting a small affordable kitchen scale if you want to move forward with this particular recipe.
Looking for more sourdough recipes?
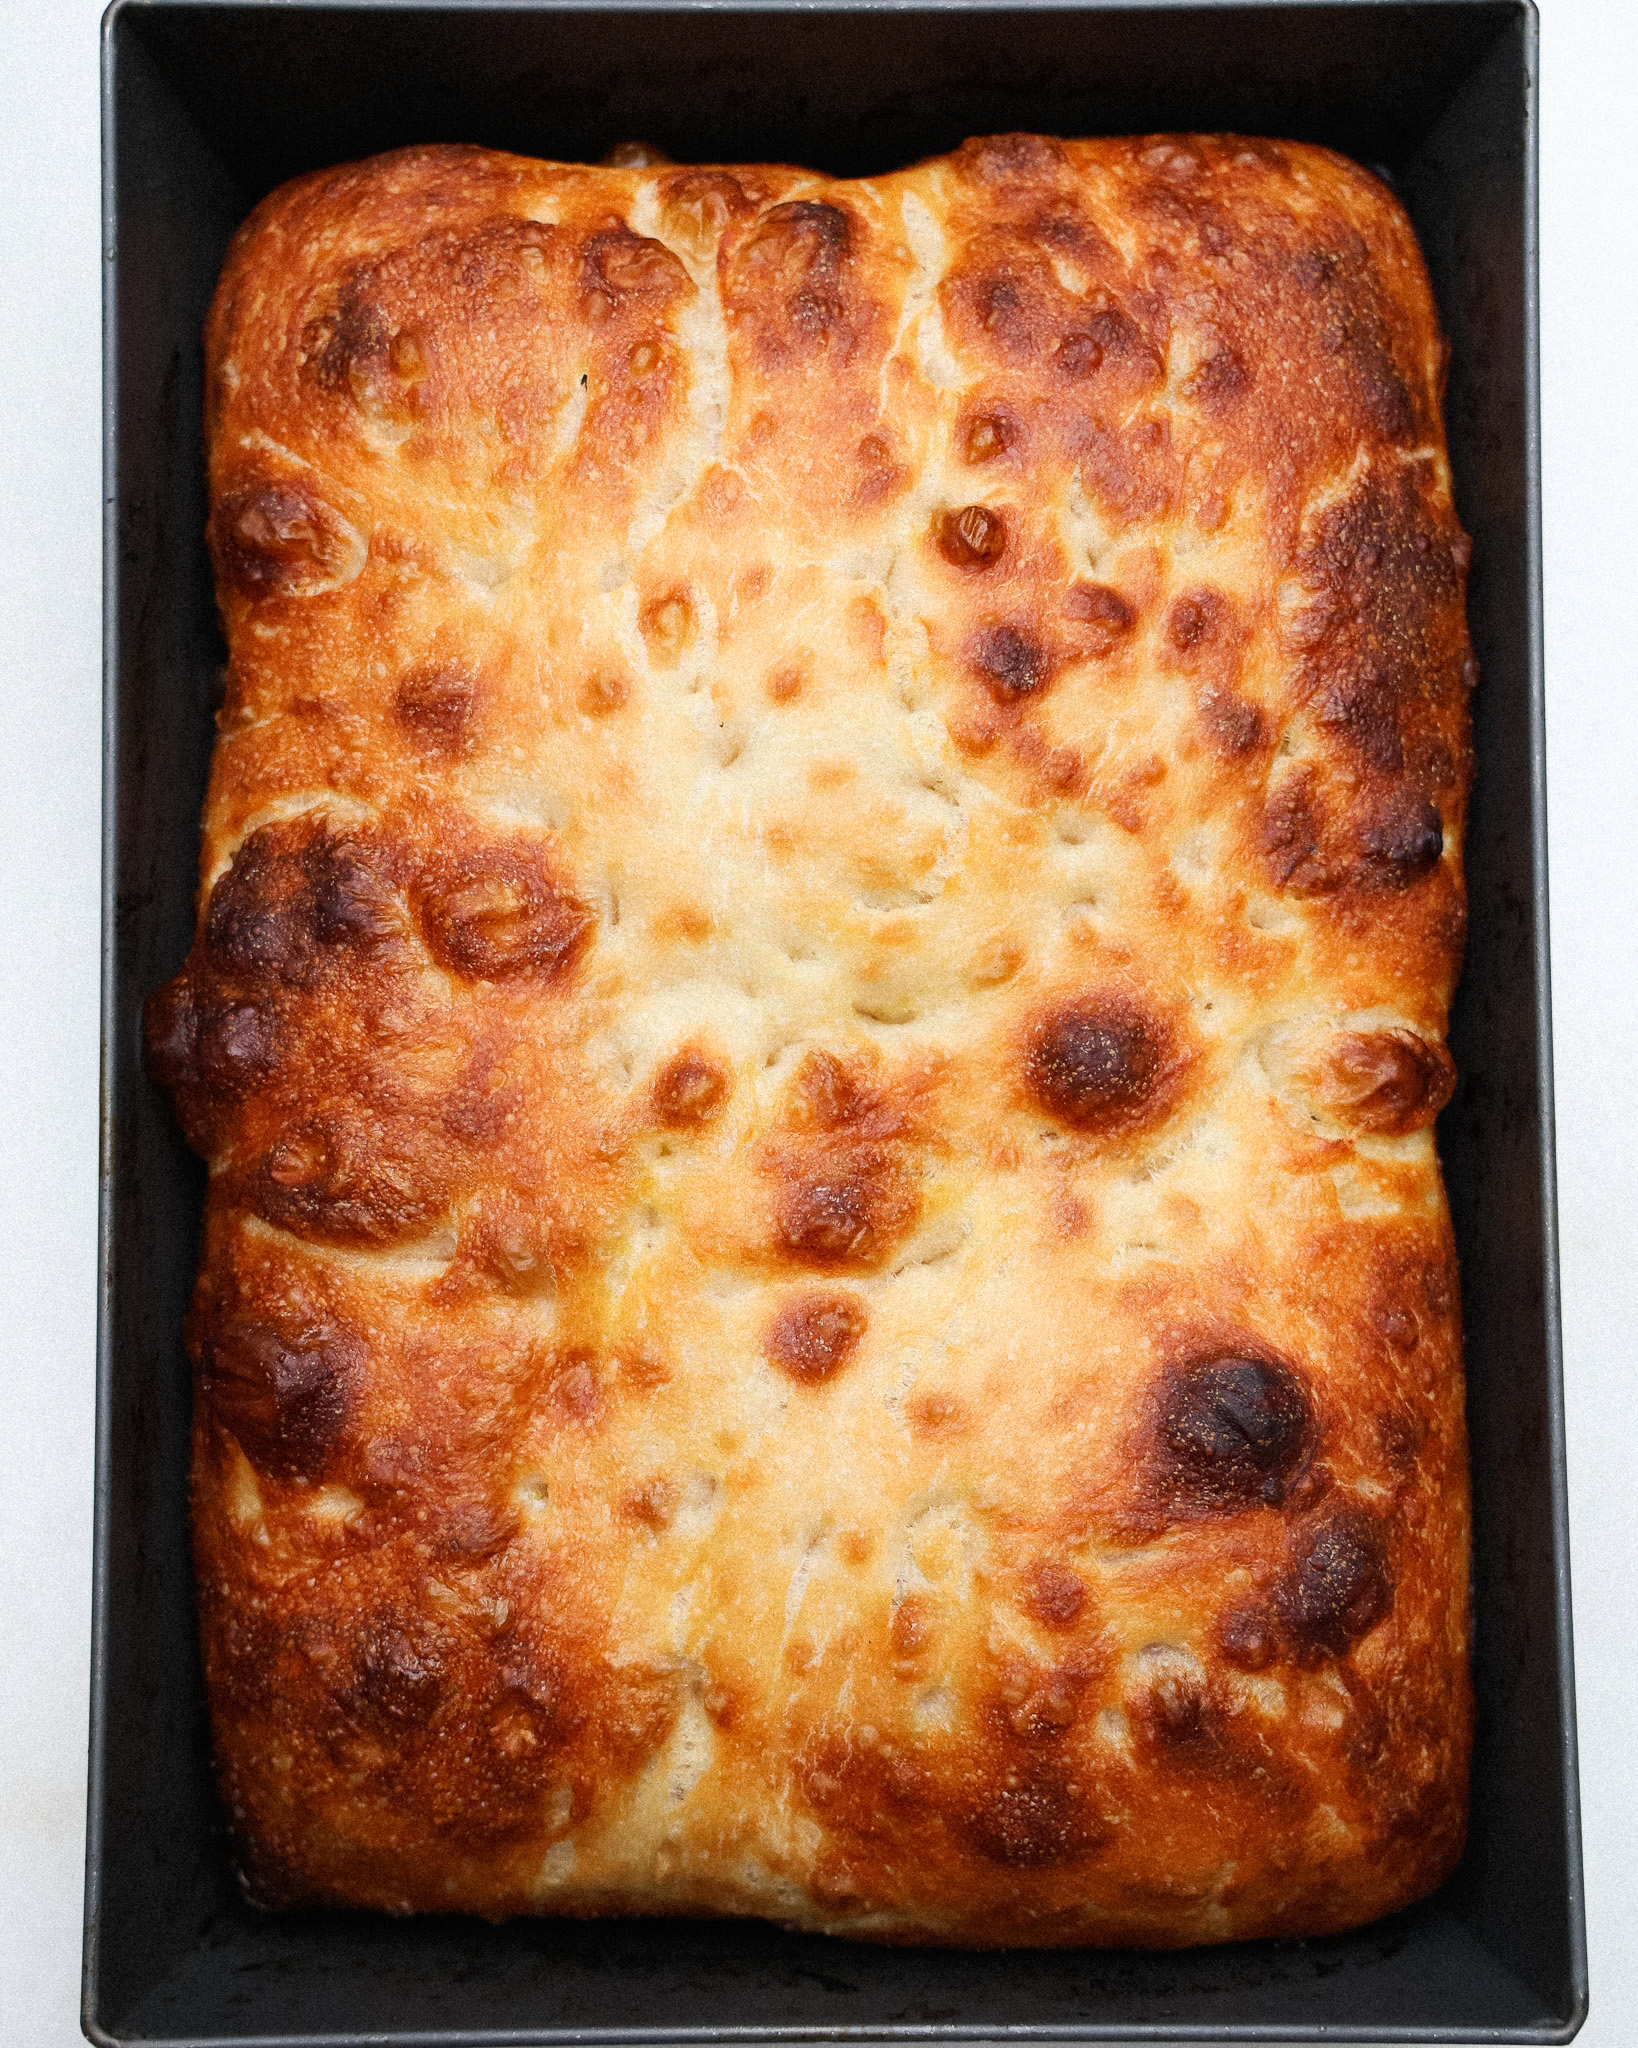
Easy Homemade Sourdough
Sourdough English Muffins
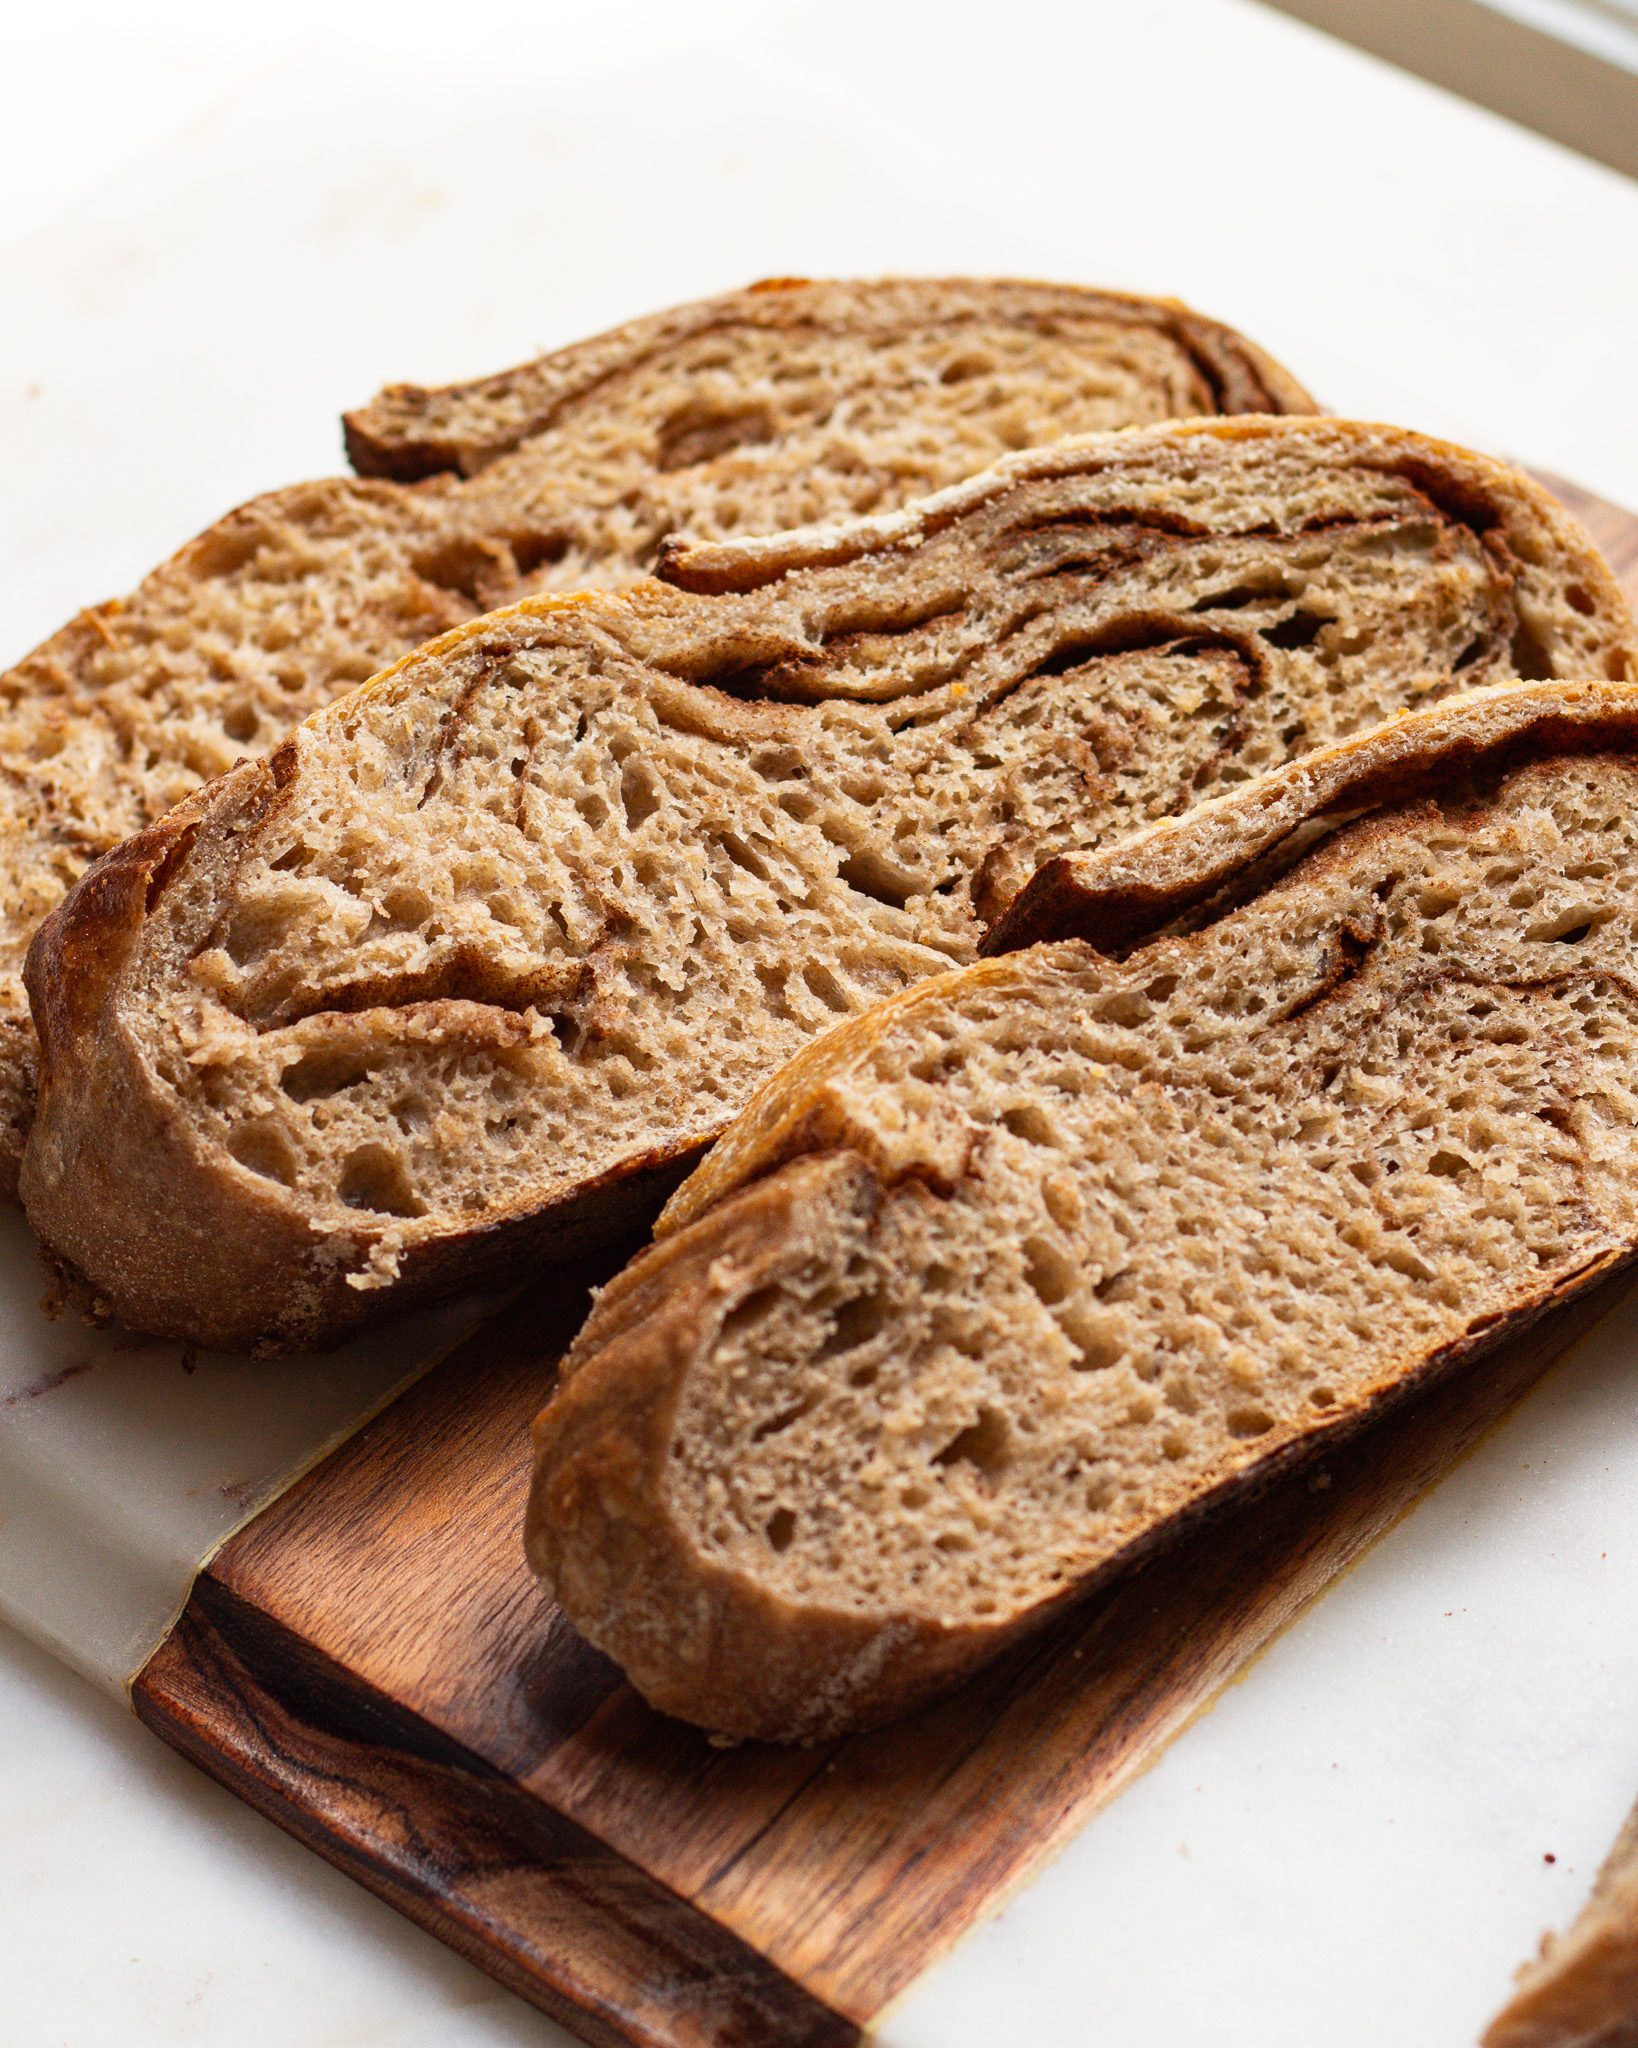
Cinnamon Sugar Sourdough
And that’s everything for this Matcha Sourdough!
If you make it, please tag me on Pinterest or Instagram so I can see! It’s my favorite thing to scroll through stories and see what you all are making.
And of course feel free to leave any questions, comments or reviews! This is the best place to reach me, and I’d love to hear from you <3
Equipment
- 2 large bowls
Ingredients
For the sourdough half:
- 234 grams water at 90°F, Baker's % = 78%
- 60 grams activated starter, Baker's % = 20%
- 210 grams bread flour + 90 grams of whole wheat flour, Baker's % = 100%
- 6 grams Diamond Crystal kosher salt, Baker's % = 2%
For the matcha dough half:
- 234 grams water at 90°F, Baker's % = 78%
- 60 grams activated starter, Baker's % = 20%
- 210 grams bread flour + 85 grams of whole wheat flour, Baker's % = 98%
- 5 grams ceremonial grade matcha, Baker's % = <2%
- 6 grams Diamond Crystal kosher salt, Baker's % = 2%
Instructions
- Mix the dough – For the sourdough side, in a large bowl, mix together 60 grams of activated starter and 234 grams of water with your hand until the starter is fulling dissolved and the water is foamy. Add 210 grams of bread flour and 90 grams of whole wheat flour and mix until combined into a shaggy dough. For the matcha dough, in a separate large bowl, mix together 60 grams of activated starter and 234 grams of water with your hand until the starter is fulling dissolved and the water is foamy. Add 210 grams of bread flour, 85 grams of whole wheat flour and 5 grams of ceremonial grade matcha and mix until combined into a shaggy dough. Cover both with a damp cloth and let sit for 20 minutes.
- Mix in the salt – Evenly sprinkle 6 grams of kosher salt over both doughs. For each dough, use a wet hand to pull one edge of the dough up until it feels taut, then fold it over the top of the dough, encasing the salt. Rotate the bowl 90 degrees and repeat again with another edge of the dough. Keep rotating and repeating until the salt is fully covered. Continue to wet your hand as needed. Once the salt is covered with the dough, use the Ken Forkish fold-and-pinch method to further incorporate it into the dough. Rotate the dough 180 degrees and pinch again. Repeat the folding and pinching process, until you feel the salt is well incorporated. Once everything is combined, use your hand in a scoop shape, scoop underneath the dough and lift it out of the bowl, gently place it back in the bowl, letting the edges fold under each other, rotating the bowl 80 degrees each time. Do this a few times until the dough looks like a smooth mound. Cover with a damp cloth and let the dough rest for another 20-30 minutes.
- Begin the slap & folds – Pour both of the doughs onto a lightly wet surface, use damp hands to lift, slap and fold each dough. Rotate and repeat until you see the dough begin to tighten into a coil. Cover with a damp cloth, wait 30 minutes and repeat the process. Cover and wait another 30 minutes and repeat the process again. Do this simultaneously with both of the doughs.
- Begin bulk fermentation – Right after finishing the third set of slap-and-folds, place the doughs in separate clear or glass containers. Cover and let rise at room temperature for 4-5 hours, or until both are almost doubled in size. You can also let them bulk ferment in the fridge for 24-48 hours.
- Layering the dough – Dump the sourdough loaf onto a wet surface. Stretch it into a long wide rectangle, about 1" tall. Using wet hands, stretch the matcha dough into a rectangle about the same size, and place it on top of the sourdough side. Dab a bit of water down the middle of the doughs in order to cut them in half with a bench scraper, you will now have two loaves to pre-shape.
- Shaping the dough – For each loaf, fold a short rectangle side down until it is 2/3 of the way across the dough. Stretch out the long edges of the rectangle to the sides, and then fold them like a book over the center of the dough. Stitch the dough, roll it over into a tight coil and let it rest for 20 minutes.
- Prepare the dough – Flour your surface, proofing basket, and hands to do the final shape. Seal the seam by pulling it gently against your work surface. Transfer it to the proofing basket seam-side-up. Cover and let proof in the fridge for minimum 12 hours, up to 36 hours.
- Bake – Place your dutch oven in the oven and preheat 500°F. One hour before you bake, remove one of your loaves from the oven and let it get to room temperature. When the dutch oven has been preheated for about 45 minutes, add the loaf to a piece of parchment paper, score the top and place in the dutch oven.
- Bake at 500°F for 20 minutes, then move the loaf to a baking sheet and bake for another 10 minutes at 425°F. Repeat this process for your second loaf.
Comments
You actually make it appear so easy together with your presentation but I in finding this topic to be really something that I feel I might by no means understand. It sort of feels too complicated and extremely vast for me. I’m looking ahead for your subsequent publish, I will attempt to get the hold of it!
I keep having little black specs appearing on the matcha dough during the 1st rise. Is that normal?
Hi Miranda, it’s definitely not normal, but it’s not detrimental either! That’s just your matcha powder separating or clumping in an odd way. If you could find a culinary grade matcha (they are rare but they do exist!) that will help. Otherwise it’s just an aesthetic issue, it won’t impact the flavor!
Leave a Comment
Made this recipe? Tell me all your thoughts or if you’ve got any questions!